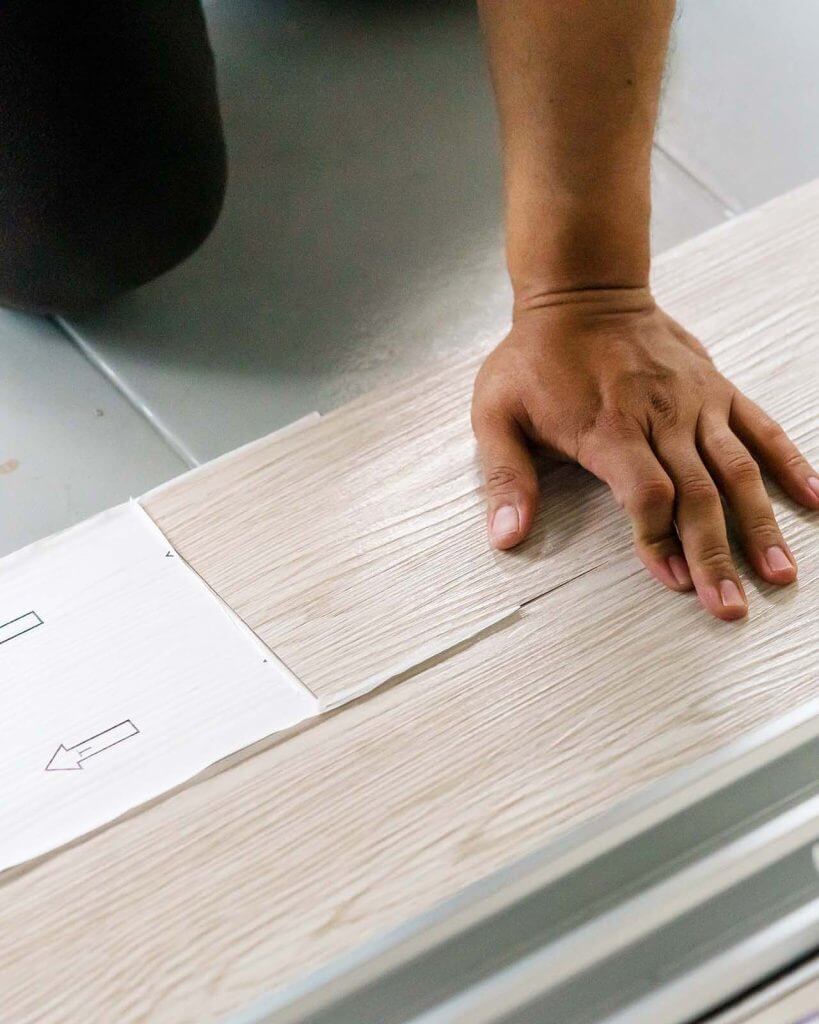
Step-by-Step Vinyl Plank Flooring Installation
1. Starting the Installation
Begin on a wall with a corner and work your way up to the longest wall to ensure that the plank lays out straight.Use spacers (8-10mm) along the walls in order to maintain an expansion gap for natural movement.This gap is important for eliminating buckling as a result of humidity or temperature changes.
2. Installing The First Row
Align the first plank towards the wall while the locking mechanism faces outward.For deciding parallel alignment, check using tape measure to be sure there is equal distance from the wall on both ends.For glue down installations, apply glue according to the company’s specifications.
3. Staggered Seam Techniques (Brick Pattern)
Begin the second row with a cut plank and that cut plank should be at least 1/3 of the length to offset seams.Cut end joints of two adjacent rows at least 6 inches away from each other.This takes plank stability to another level and makes it look like wood floors.
4. Cutting and fitting planks.
Sharp cuts:
Check the plank and measure accurately. Start marking the plank.Snap the clip along the scored line.With more complex cuts (corners, pipes):
Slowly cut towards the edge and decay.
5. Finishing touches
After completing the installation, take spacers out.
Install quarter-round as well as base boards to conceal the expansion gaps.With regards to the tape or strips that are going from one room to others like reducer or T-molding should be used.Expert Tips For An Impeccable Finish Force
Pro Tips for a Flawless Finish
Work in small sections (especially for glue-down installations).
Check alignment every 3-4 rows to prevent drifting.
Use a tapping block to secure tight seams without damaging edges.
(This structured guide ensures a professional-looking installation with clear visuals for each step.)
Optional Table: Common Cutting Scenarios
| Scenario | Tool | Technique |
|---|---|---|
| Straight cuts | Utility knife + ruler | Score and snap |
| Curved cuts (pipes) | Jigsaw or coping saw | Drill pilot hole, then cut shape |
| Notches (corners) | Utility knife | Multi-angle scoring |
Would you like additional details on specific steps (e.g., glue-down vs. click-lock)?


