Product Features
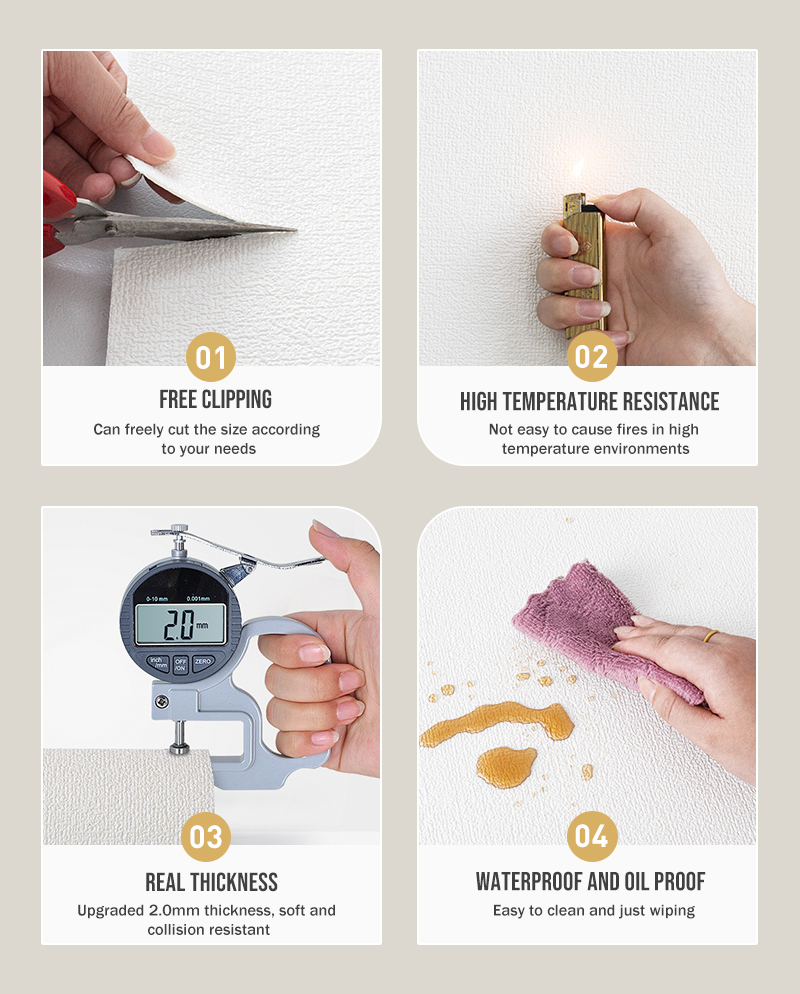
DIY Freely:
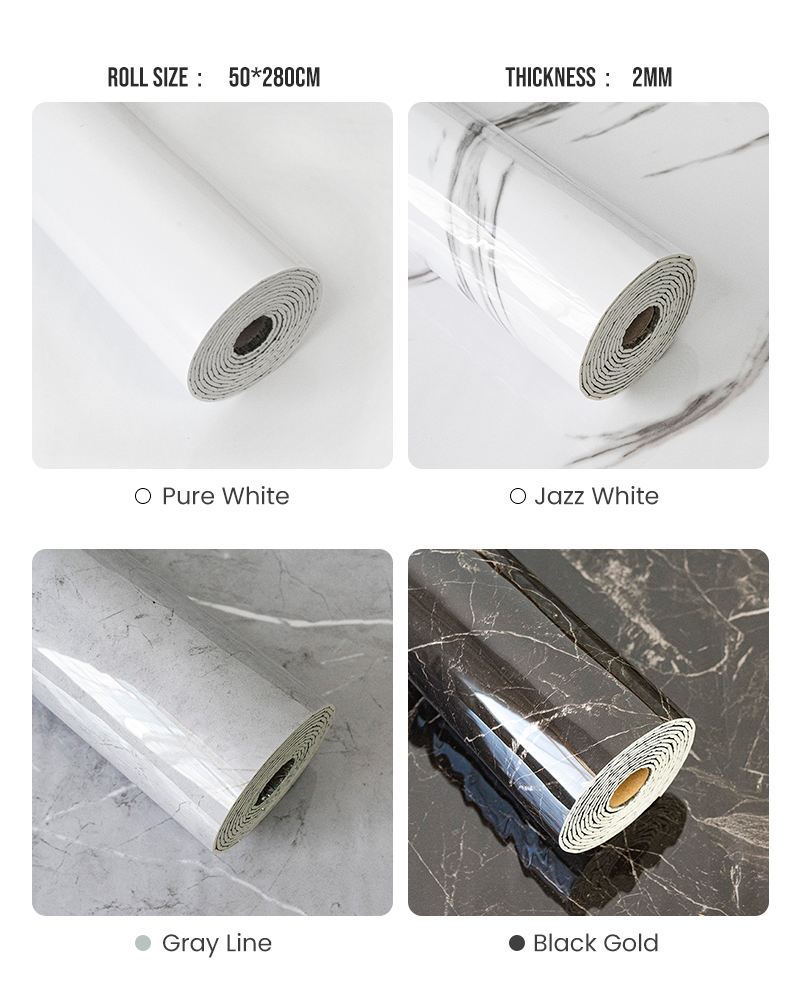
Trim easily with gridlines on the backing paper for accurate measurements; cut to any size and apply on smooth walls or panels. High-quality paint ensures long-lasting, fade-resistant color.
Versatile Usage:
Ideal for various surfaces and rooms. Use as wallpaper for textured walls, ceiling, kids’ bedrooms, or headboards, as well as for creating wall padding in playrooms or classrooms. Perfect for cinder block walls, garages, and offices, with options for soundproofing and safety.
Important Tips:
Ensure walls are completely dry and dust-free before application. For heavily textured walls, consider a skim coat. Test wallpaper layout before installation for best results.
Applications:
Suitable for textured walls, ceilings, bedrooms, nurseries, playrooms, dorms, garages, and more. Adds protection and style, making it a safe alternative to traditional wall padding.
Installation Instructions
1. Measure
Begin by carefully measuring the entire wall area to calculate the amount of contact paper needed for full coverage. Ensure accurate measurements to avoid gaps or excess.
2. Prepare the Surface
Prepare the wall by sanding down any rough or uneven areas for a smooth finish. Clean the surface thoroughly with a damp cloth to remove dust, grease, or debris. Allow it to dry completely, as a clean, dry surface enhances adhesion.
3. Cut to Size
Cut the contact paper to match your measurements, adding an extra 5mm on each edge to allow for overlap. Use a ruler and sharp blade or scissors for precise trimming, ensuring a clean cut.
4. Apply
Carefully peel off a small section of the backing from the top edge of the contact paper and align it with the wall. Gradually peel off the rest of the backing while pressing the paper down from the top to bottom, using a soft cloth to smooth it out from the center toward the edges. This method helps reduce any chance of bubbles forming.
5. Remove Air Bubbles
Inspect the surface for air bubbles once the contact paper is fully applied. For any bubbles that appear, gently puncture them with a needle or small knife tip, then press and smooth the area to achieve a seamless, professional look.